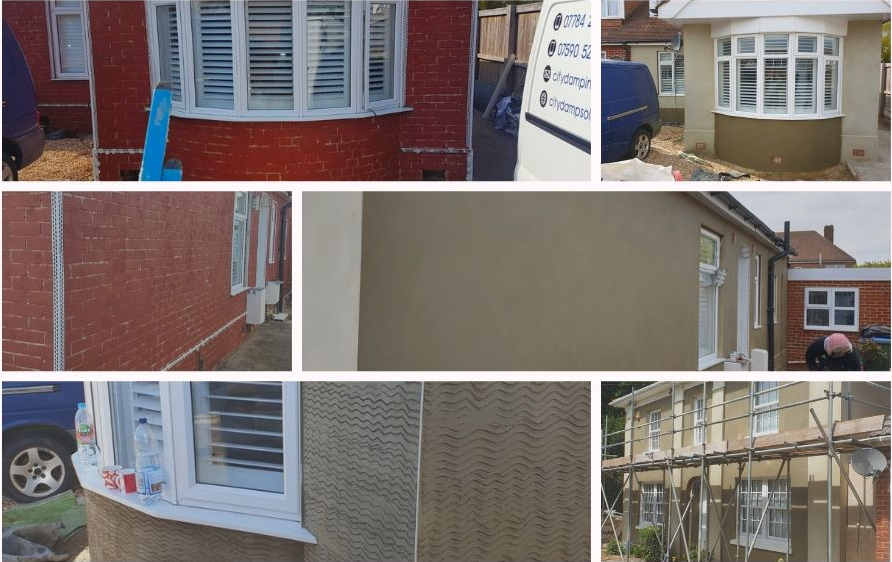
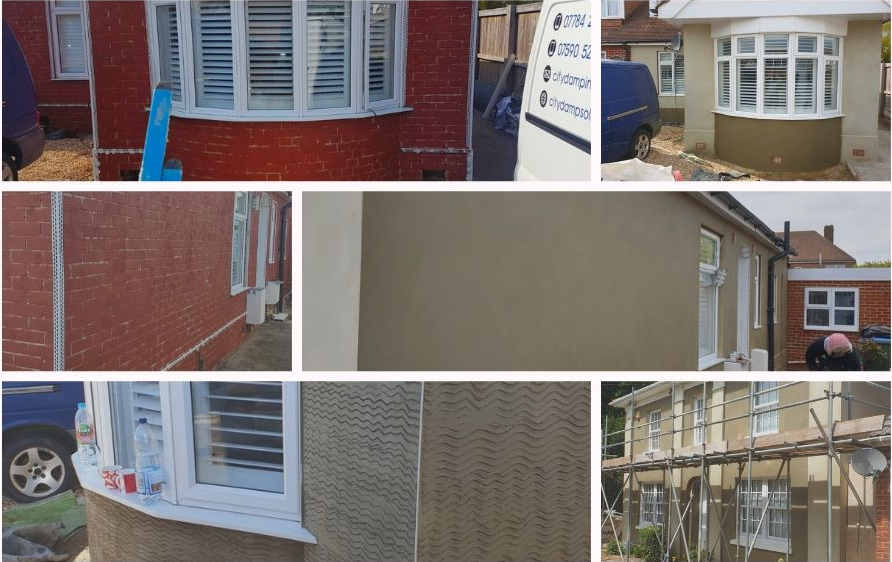
Preparing To Render Your Home With Basic DIY Skills


Are you tired of the dull and worn-out exterior of your home? Giving it a fresh new look does not have to break the bank or require professional help. With some basic DIY skills and the right preparation, you can transform your home by adding render. Rendering enhances the aesthetics and protects the underlying structure from weather damage. This post will guide you through preparing to render your home using basic DIY skills.
Assess the Surface
Before you start rendering, assessing the condition of your home’s exterior surface is essential. Inspect for cracks, loose, or damaged render, and signs of dampness. Address any underlying issues before proceeding with the rendering process. Ensure the surface is clean, dry, and debris-free for the best results.
Gather the Necessary Tools and Materials
To render your home, you will need a few tools and materials. Here’s a basic list to get you started and you can also consider hiring a render machine to make the job much easier:
Render mix: Choose a high-quality render suitable for the surface type and weather conditions.
- Trowel: A trowel is essential for applying the render smoothly and evenly.
- Hawk: This handy tool allows you to carry the render mix conveniently.
- Spirit level: Use a spirit level to ensure that the render is applied straight and even.
- Brush: A brush is useful for wetting the surface and achieving better adhesion.
- Protective gear: Do not forget safety goggles, gloves, and a mask to protect yourself during the process.
Prepare the Surface
Preparing the surface is crucial to ensure proper adhesion and a long-lasting finish. Start by cleaning the surface thoroughly, removing any loose paint, dirt, or debris. Use a stiff brush or pressure washer if necessary. Repair any cracks or damaged areas using a suitable filler or repair mortar.
Next, dampen the surface with water using a brush. It helps the render adhere better and prevents drying out too quickly. Take care not to oversaturate the surface, as it may affect the rendering process.
Apply A Primer
A primer is highly recommended before rendering, as it improves adhesion and helps the render bond securely to the surface. Choose a primer that is compatible with the render mix you’re using. Follow the manufacturer’s instructions for application and drying time.
Mix and Apply the Render
Carefully follow the instructions on the render mix packaging to prepare the mixture. It is essential to achieve the right consistency for smooth application. Use a mechanical mixer or mix by hand in a clean container.
Start applying the render using the trowel, working in small sections from the bottom to the top. Spread the render evenly, making sure it is of a consistent thickness. Use a spirit level to check for a straight and plumb surface. Feather the edges of each section to ensure a seamless finish when joining the next section.
Finishing Touches
Once the render is applied, you can create different textures and finishes to add character to your home’s exterior. Use a texture comb or sponge float to achieve the desired effect. Allow the render to dry per the manufacturer’s instructions before applying further treatments or paint.
Remember, rendering is a skill that improves with practice, so do not be disheartened if your first attempt is not perfect. Take your time, follow the instructions, and learn from each experience to refine your technique.


